Embosser Questions
General Questions
What is a paper embosser?
A paper embosser is a tool that, when pressed, creates a raised impression/motif on paper.
What is the difference between a full set and an insert clip?
There are two parts of the embosser, the embosser itself, and an interchangeable insert clip with a specific design and orientation. A full set includes the embosser and a single insert clip.
Do I need a full set or just an inset clip?
You only need to have one embosser, so if you have ordered a full set in the past and want a new design, you need only order an additional insert clip. If you have not purchased an embosser here before, you will need the full set.
NOTE - The insert 50mm clips and the 40mm clips are not interchangeable so you just have the proper embosser for the size of the insert clip.
Do I need an new embosser if I want a new design?
Once you have an embosser, you need only purchase additional insert clips in order to create new designs. You do not need to purchase a new full set every time. Of course, if you are working on a large scale or often change your motif, it may be beneficial to have more than one embosser to save time, but it is not necessary.
Again, the 40mm insert clips and the 50mm insert clips are not interchangeable so you must have at least one embossers for each size that you want to work with.
Embosser Types/Styles
What is the difference between the two embossers?
Apart from the obvious difference in size and appearance, each embosser is better suited to different projects and tastes:
The 40mm silver hand held embosser is meant for smaller projects and for occasional use such as embossing a notecard and envelope each time you send a thank you note or letter. It is also quite pretty.
The 50mm embosser is meant to handle larger projects and frequent use. If you are embossing multiple pieces in a full wedding suite, you hand would become fatigued using the hand held embosser. This embosser also has longer arm, which means that the paper can be placed farther in which allows the motif to be deeper into the page.
For more detailed description of both embossers, see here.
Which embosser should I use?
I cover this here. If you are still unsure which option is best for you, please e-mail me and I will be happy to advise.
Embosser Use
How do I use an embosser?
To use the paper embosser, first make sure that the insert clip is securely set. Then, place the paper that you wish to emboss between the two engraved plates so that the motif is where you wish it to be. Once your paper is in place, apply pressure and release.
How much pressure do I use?
Every paper type and thickness will be slightly different in how much pressure is needed and how crisp of an impressions is made.
Because of this, I always recommend having extra paper on hand to allow you to do a few test impressions to much pressure is needed to achieve the desired outcome.
How do I remove and insert clips?
To remove a clip, simply squeeze the two plates together between your fingers and it pull out of the embosser.
To insert a clip, you will also squeeze the two plates together and guide the clip into the embosser so that the teeth fit inside of the holes for the 40mm embossed or so that the teeth clip on the the bar on the 50mm embosser.
NOTE - Please be careful of your fingers when inserting an insert clip as you can pinch your skin between the metal pieces.
I have an embosser from a previous project, are your insert clips compatible?
As each insert clip is especially designed to fit a specific embosser, I cannot guarantee that these insert clips would be compatible with your embosser and would recommend purchasing the full set.
Embosser Orientation
What does orientation mean?
Orientation is the direction in which the motif on a specific insert clip will appear right side up.
More detailed information about orientation can be found here.
I need two orientations, do I need to purchase two embossers?
Yes. Each insert clip will create the impression in a single direction.
More detailed information about orientation can be found here.
Paper Types
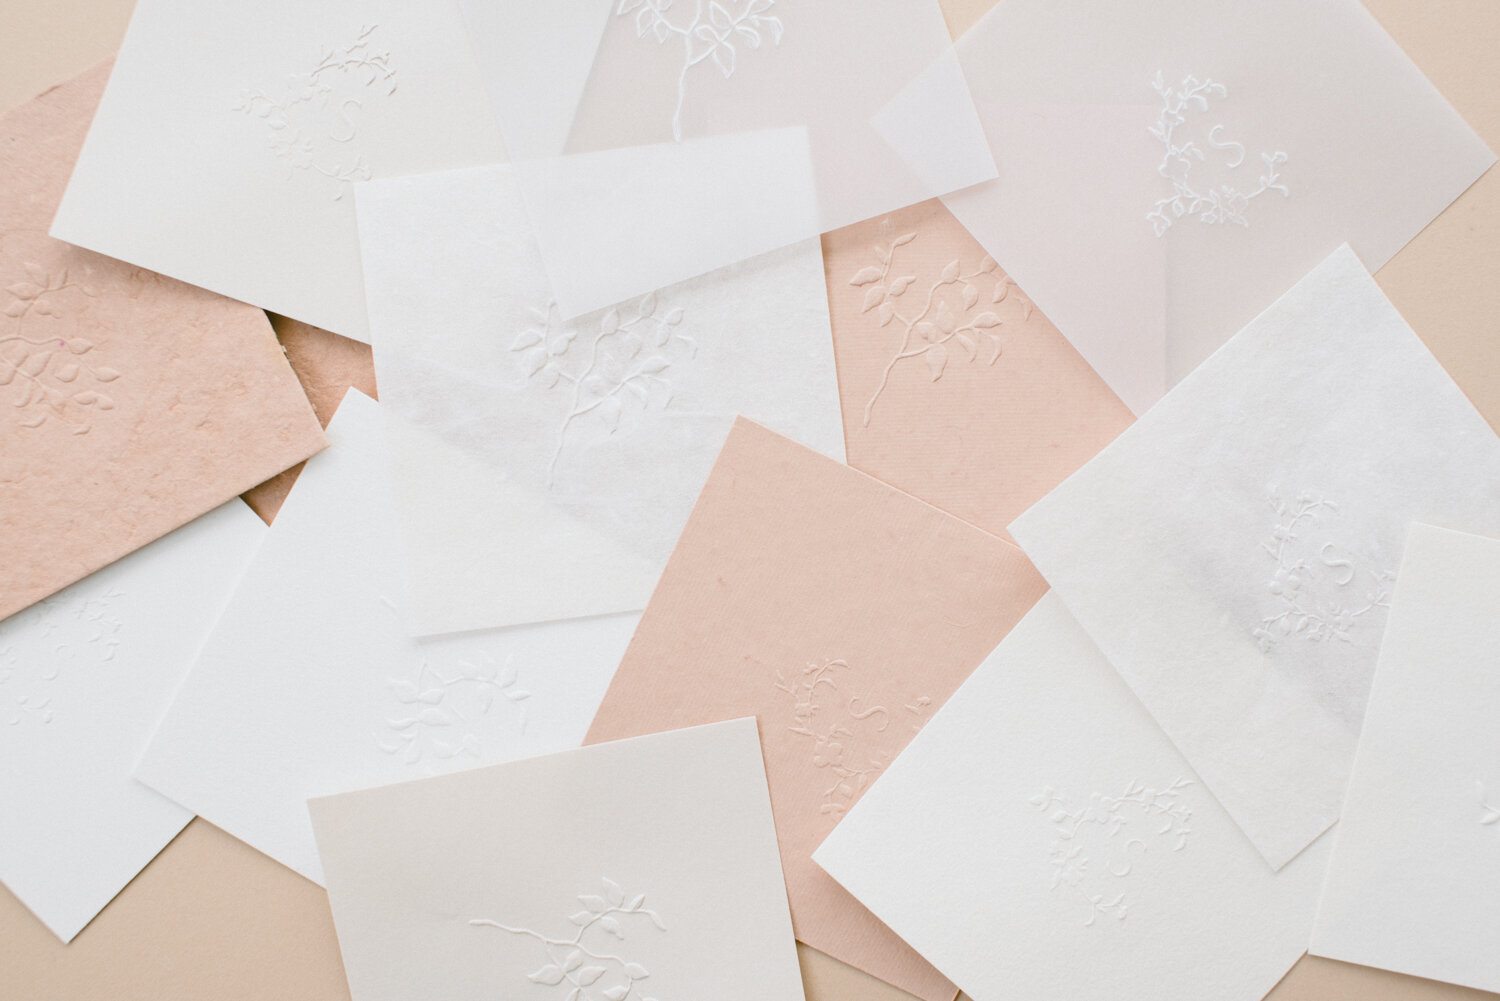
Example images of different paper types can be seen here.
What type of paper embosses the best?
It depends on the desired look and impression. I will touch on a few points below:
There are two main factors which I have found to make a difference on the appearance of the embossed impression, paper thickness and paper texture.
Paper thickness
Generally, the thicker the paper, the less crisp the impression will appear. I have used both embossers on 220lb cotton paper and was happy with the results, however the impression paper this thick will not be quite as defined at it would appear on thinner paper.
Paper that is very thick may require more pressure to be applied, however be aware that this can leave a flattened area where the smooth portions of the plates pressed the paper, which may not be cohesive with your intended design.
Conversely, very thin paper, can actually be torn or cut if pressed too hard. Not all paper weights require the same amount of pressure which is why you should always have extra to rest before beginning a project.
Paper Texture
The texture of the paper can also affect the outcome and appearance of the embossed motif.
For example, highly textured tissue paper or paper with fiber inclusions, while thin, may not yield the best result as the texture and fibers can interfere with the appearance of the embossing.
In the same way, handmade paper that is more textured will yield a more subtle result. Highly textured handmade paper can also be prone to the area that is pressed between the smooth parts of the plates being visibly flattened.
For images of embossers used on different paper types, see here.
Designs
I want to use the motif design in the rest of my suite, do you sell the digital design?
Currently, I do not sell the digital motif, but if this is something that you are interested, please e-mail me.
Can you create a custom embosser for me?
Absolutely! You will need to send me a black and white vector file, either a pdf or an ai file, and I will get a proof to you to approve before the product is made.
Please e-mail me if you wish to purchase a custom embosser.
Packaging
How are the embossers packaged?
Each full embosser set is accompanied by a custom box for easy storage with not in use.
Each insert clip comes with a cotton storage bag with a tag showing which clip is inside. This makes it easy to identify the design that you need if you have multiple clips.
Is your packaging sustainable?
Being a good steward of our beautiful planet is important to me. I use recyclable boxes, and the cotton storage pouches and wood excelsior shred is 100% biodegradable.
Shipping
How do you ship your products?
We ship all of our products via USPS flat rate boxes as we found that to be the best options cost-wise. If you need us to use another carrier or need expedited shipping, please let us know.
Do you ship internationally?
Yes! All international orders will also be shipped via USPS international. Please be aware that there may be additional duties or taxes charged by your country.
Wholesale
Do you offer wholesale?
If you are a brick and mortar or a digital shop and are interested in carrying the embossed, please e-mail me.